Creating a Windows XP Installer from a Diskette: A Step-by-Step Guide
Windows XP in your computer
Creindows XP InstallerFor example, in the early days of the Windows series, a user could install the operating system using a set of floppy disks. Even in today’s world of advanced technology, it is possible to install Windows XP from diskette provided that one understands the correct process to follow. They are important to know during thCreating a Windows XP InstallerWindows XP process which will be described in this article step by step along with the tools required.
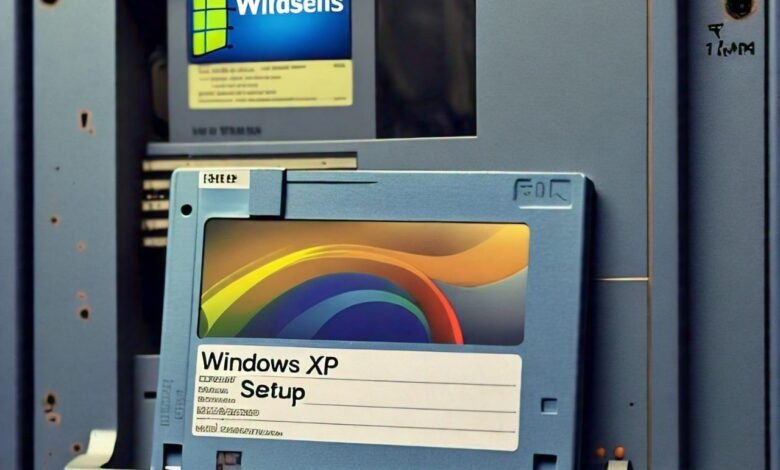
The elementary comic-like aesthetics, such as the illustration of a floppy disk, refers to a now-antiquated technology that people might have a certain kind of sentimental feeling about, something that they can remember from a time when it was in use.
Explorations of floppies were once standard for installing operating systems and software in a computer system. Perhaps, the image of the disk being inserted into the drive, the churning sound that followed as the computer decoded it as well as wait for the programs to load are part of the best memories of many people today. That was quite intriguing as even though CD and DVDs did replace floppy disks, the option to install Windows XP on disc will require a diskette feat.
Tools Needed
To create a Windows XP installer from a diskette, you’ll need the following tools:
– Windows XP installation CD
– Diskette (1.44 MB)
– Microsoft Windows XP Setup Disk Maker (winxpboot.exe)
– HP USB Disk Storage Format Tool (for formatting the diskette)
Step 1: Format the Diskette
To format the diskette, follow the instructions below: a) Download and install the ‘HP USB Disk Storage Format Tool’. This will null all partitions on the diskette, ensure it has no data or better still copy any data which you want to be stored in the diskette . Place the diskette into the floppy drive to start the formation of a tool. Choose the letter indication the disk with the A: key and complete the formatting according to the instructions displayed on the screen.
Step 2: Create a Bootable Diskette
Run winxpboot.exe and follow the prompts to create a bootable diskette. This tool will extract the necessary files from the Windows XP installation CD. Insert the Windows XP installation CD into the CD drive and launch winxpboot.exe. Select the CD drive and the floppy drive, and the tool will create a bootable diskette.
Step 3: Copy Setup Files
Copy the following files from the Windows XP installation CD to the diskette:
– winnt.exe
– winnt32.exe
– winnt32.dll
– setup.exe
These files are essential for the installation process. Ensure they are copied correctly to avoid any errors during installation.
Step 4: Create the Installer
Insert the diskette into the A floppy drive and power your computer. This must be done by entering BIOS settings and bringing the floppy drive to the parameter of booting device with the high priority.Save the changes and exit the BIOS settings. Your computer will now boot from the diskette, starting the Windows XP installation process.
The Installation Process
After this, one gets the diskette booting and getting the installation of Windows XP up and running. Click on the links that lead you through the step-by-step process of choosing your language preference, date and time format, as well as currency preference and other options. It will then copy files as well as install devices, and configure options in the next installation method.
Tips and Considerations
– Make sure the diskette is formatted adequately and that all the required files are duplicated.
– It is advisable to use a high-quality diskette as it may be the only medium of getting the software during the installation process. .
– While installing, the time it will take may be more than expected compared to the normal installation time because of the slow read rate of floppy disks.
– This method should only be used by those who wish to indulge in the memories and should be avoided on a day to day basis.
Conclusion
This shows that Windows XP is flexible enough to be installed on systems using a diskette specifically when a CD/DVD drive is not available. While it may not be the most efficient mode of operation, it is rather useful and an interesting example of how advanced technological devices can be used. If you have come through all the steps above correctly then you should have a bootable diskette installer ready for installing the Windows XP in your computer. Here are five misconceptions about computers that are sure to take you back to the Windows 98 days when we used disksettes to install windows XP. For more information visit ventsicon.com